How to hang up a picture wall: tipps and tricks
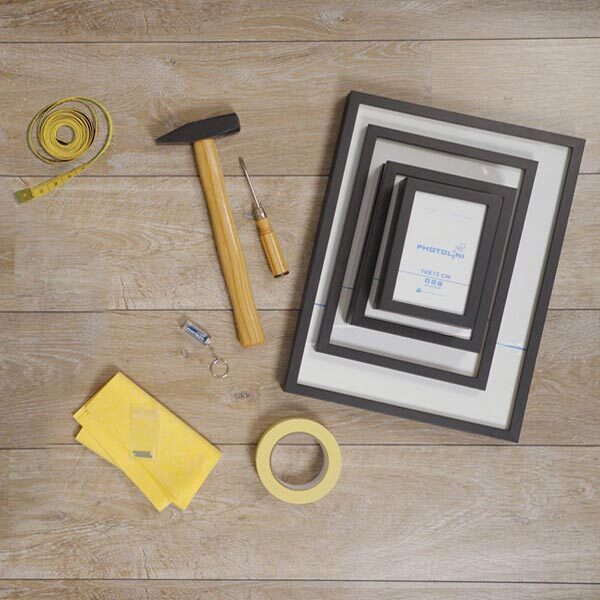
1. Tools
It’s really easy to hang up a set of picture frames correctly – you only need the following tools:
- Paper templates, measuring tape, a pencil, masking tape, a level
Light picture frames:
- Nails and a hammer
Heavy picture frames:
- Screws and dowels
- Drills and a drilling machine
…and of course: picture frames
2. Preparation
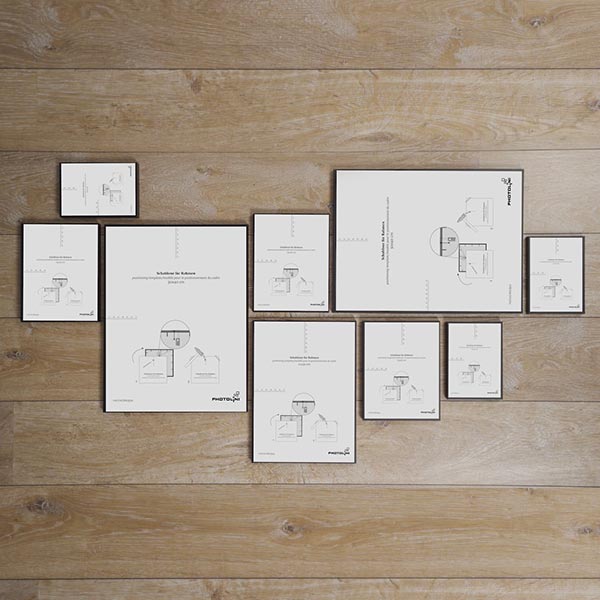
A well-considered arrangement is essential for great picture walls. That’s why you should try out your idea in advance by spreading out the picture frames in front of you on the floor or the desk. The size or rather the format of the picture frames defines the visual impact – while square picture frames convey structure and symmetry, rectangular frames are most suitable for lively photos.
When it comes to arranging the frames on the wall, it’s a good idea to play with different photo groups. That’s why black and white picture frames in combination with black and white photos create a special dramatic effect.

3. The right place to hang up your picture wall
When hanging up picture frames, it is advisable to mount them at eye level. The middle of the picture wall should therefore be aligned at a height of 1,60 meters. The frames are to be placed a little lower, when hung up above a couch or other seating furnitures.
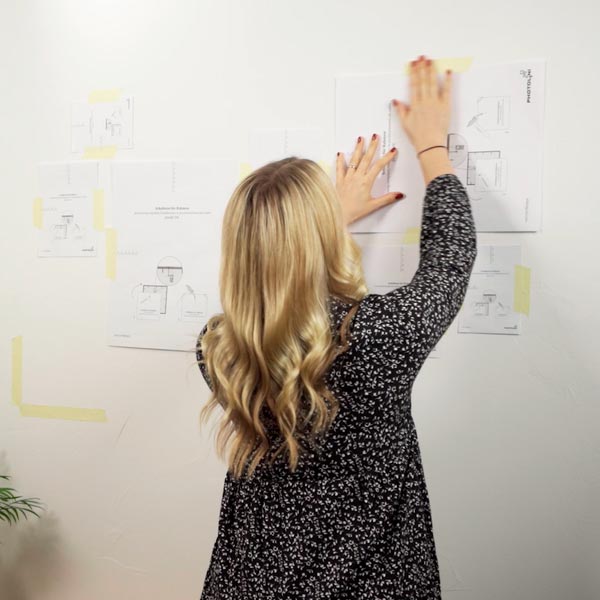
For an easy planning of the picture wall, mark its outline on the wall by using masking tape. Such a picture wall is also suitable for the living room, the bedroom, the corridor or the kitchen, as long as there’s enough free surface.
4. Use templates
In order to find the perfect arrangement of smaller and bigger formats, use paper templates when it comes to hanging up picture frames.
With the help of this aid, the spaces between each picture frame can be planned in advance. A paper template has specific markings for nails and screws, so arranging the picture frames is nearly effortless.
5. Nails or dowels?
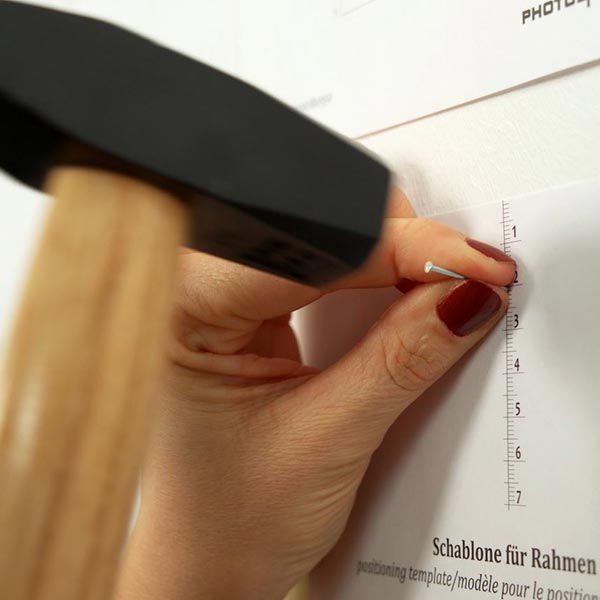
In general, nails are suitable for lighter picture frames. With a hammer, the nails are driven into the marked spot on the wall. While hammering, it’s important to move the nail slightly upwards to keep it from slipping down.
Heavier frames should rather be attached with dowels or screws. If you don’t know the material the wall is made of, use an universal dowel. Those are suitable for most wall structures.
The size of the suitable drilling machine depends on the diameter of the dowel. A hole is drilled in the wall with the same size as the length of the dowel. After that, the dowel is carefully hammered into this hole. That’s when the right screw or hook can be placed into it.

6. Hanging up picture frames
All preparations have been completed – the design for the picture wall is set and the nails and dowels are in position. Now it’s time to hang up the picture frames with your favorite pictures by using a nail or a hook.
Done? Check the position of the picture frames with the help of a level. When everything is ready, have a seat and let the new wonderful room atmosphere sink in. One thing is already clear: it was worth the effort!
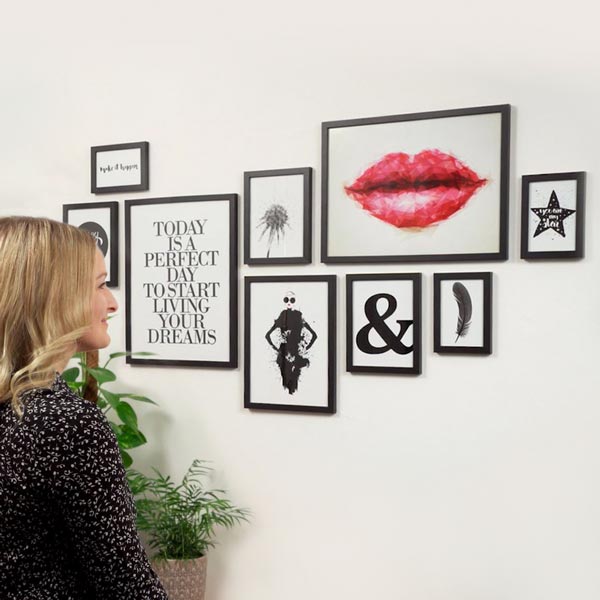
7. Your picture wall is ready!
Hanging up picture frames is easy and lets the creativity flow. In no time, you can design your own picture wall that imparts a lively atmosphere to the room. And the best thing about that: once the nails and hooks are set, it’s easy to change the pictures at any time.
As an addition to classic picture frames, object frames can be easily integrated in a picture wall. When it comes to creating one, hanging up pictures is not the only option to make your photos look good – a picture molding is an ideal addition for picture walls and makes it possible for you to arrange your photos in more than one creative way.

